Kimchi and Sauerkraut
 |
| Colorful kimchi |
 |
| Mixing and packing kimchi |
So what’s the big deal about fermentation? Its basis is in science, a blending of chemistry and biology in the most delicious of ways. In chemistry, fermentation is the simple conversion of sugars (carbohydrates) into acids (lactic acid, acetic acid, ascorbic acid) while giving off CO2. In biology, it provides essential nutrients and “probiotics” (as a biologist myself, I’m not fond of this term). The nutritional value of fermented food wasn’t really demonstrated until mid 1800’s when the English Navy, which through trial and error and a lot of convincing, began taking fermented cabbage, sauerkraut, on board to prevent scurvy.
Fermenting the cabbage actually increases the amount of ascorbic acid (“a”=no, “scorbius”= scurvy), the lack of which commonly left sailors, especially, prone to scurvy. Scurvy is a deficiency in vitamin C which is required for collagen production, used in connective tissues, muscles, skin, and is the pre-dominant protein in the human body. Now the English Navy didn’t understand the “why’s or wherefore’s” then, they just knew it worked, and that simple step allowed the English Navy to stay on the open seas longer than any other navy of the time. And eventually they went on to establish an empire that changed the political and economical shape of the world. All because of cabbage! Well, sort of…
So there is the essential nutrients part of fermented foods, what about these probiotics? Probiotics is just a fancy media term for “bacteria that is good for you”. But that is misleading, as even “bacteria that is good for you” can be bad for you in overwhelming quantities and in the wrong places. Which, if you don’t prepare your fermented foods under the proper conditions, can happen. Especially with sauerkraut. More on that later. Most people though thoroughly cook their sauerkraut before eating and thus problem… mostly solved. That’s not my only issue with the term “probiotics” but I’ll leave it be!
We all have colonies of bacteria that are specific to us as individuals and even colonies that are specific to families or housemates living in close quarters. In a pinch, we can even be identified based on these bacteria. We all need bacteria to survive; we learn that in Bio 101. No bacteria = death. There are two major reasons. Number one major reason, our “good” bacteria line our intestines creating greater surface area for nutrient absorption, and even do a “pre-digestion” to process food into nutrients our bodies need. Otherwise we would slowly starve, even if we ate and ate and ate… The second reason; good bacteria, in healthy numbers, “outcompete” small numbers of “bad” bacteria by not giving the bad bacteria the chance to stick to the intestine walls. Usually this works just fine, but there are occasions when bad bacteria begin to overwhelm the good, resulting in “tummy troubles” (constipation and/or diarrhea) and it’s also why antibiotics can really mess up our systems so badly, long after we stop taking them.
 |
| Kohlrabi |
Well, enough of the history/science lesson! The best reason though for making any fermented foods? It just plain tastes good! So let’s get onto making some good food! The most basic ingredients you will need for fermented vegetables is non-iodized salt and time.
 |
| Watermelon radish |
Kimchi
 |
| Jerusalem artichoke |
15 lbs. chopped Napa cabbage
7 ½ TBS salt ( ½ TBS per lb) ***Note: It is best to use a non-iodized salt: kosher salt, sea salt, or canning salt. Iodine in the salt can kill off your probiotics.
***Mix salt with cabbage and let wilt for a few hours, while chopping other vegetables and making the pepper sauce. This will make it easier to pack into jars.
 |
| Pepper flake mixture |
 | |
| Yellowstone, Yaya, purple dragon carrots |
3 ½ lbs (or more) chopped carrots, onions, daikon radishes, and/or other root vegetables
3 Cups pepper sauce as follows:
Pepper sauce
3 Cups red pepper flakes (can be found at any Asian food market) or a mixture of Anaheim, chile,
cayenne, etc.
1 Cup powdered brown rice
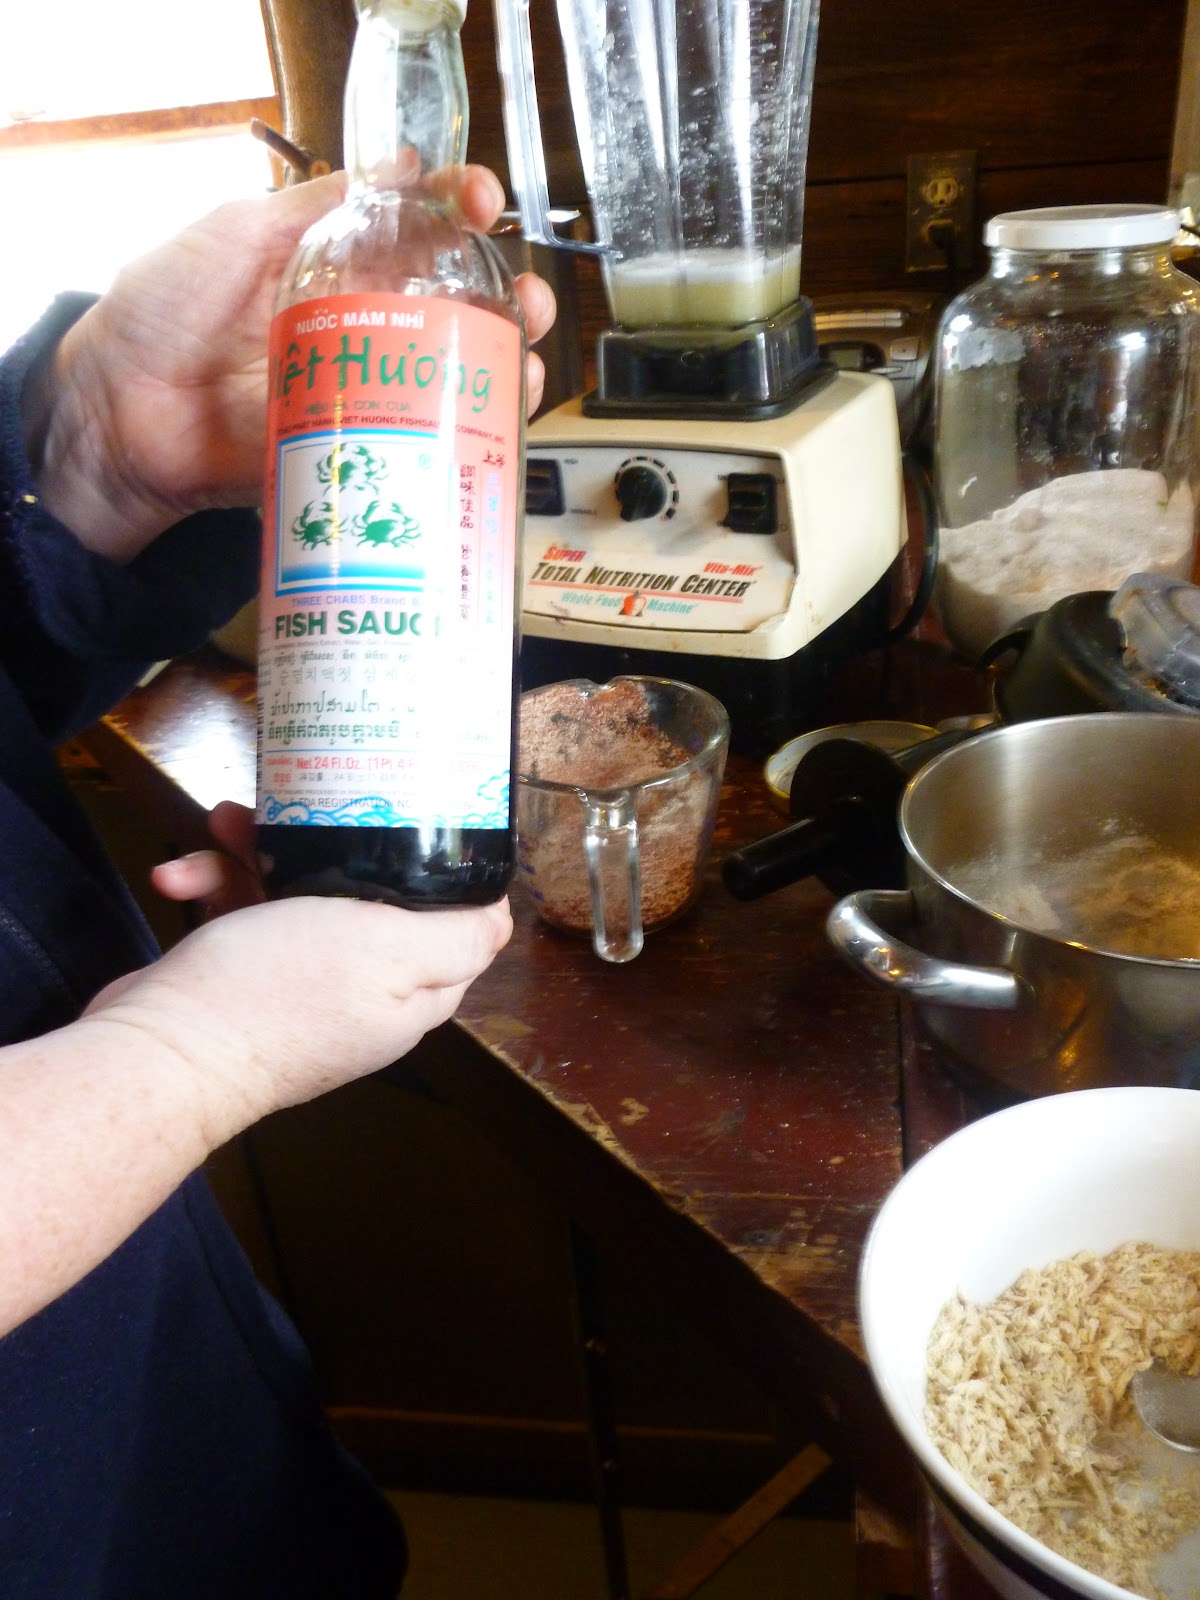 |
| Fish sauce |
2 Cups fish sauce (can be found at any Asian food market)
5 cloves garlic, pureed in ¼ cups water
¼ Cup dried ginger, or fresh ginger to taste
 |
Mix all ingredients together and pack tightly into jars, leaving space at the top for juice to rise as it ferments. Lid your jars, but not tightened, so that the CO2 can escape. Place jars in a bowl and let ferment at room temperature 3-7 days or to taste. Tighten lid and refrigerate.
____________________________________________________
Sauerkraut
Pictures are here, and photos are all that is left of our sauerkraut. Time to make a new batch!
For every 5 lbs of cabbage (common green cabbage) prepare 4 Tbs non-iodized salt.
Weigh cabbage to determine total weight, then calculate amount of non- iodized salt (canning salt, kosher salt, or sea-salt).
Have prepared beforehand:
clean stomper (we used a heavy round of wood, smoothed and cleaned)
large clean crock
large plastic turkey/cooking bag -Note: Many crocks over 30 yrs old and older used a leaded glaze that can leach into your sauerkraut. If you are using an older crock or other glazed pottery style urn, or are not sure of the age of your crock, the plastic roasting liner is essential. It also helps to keep smell down and prevent molding as well.
clip
plate and medium weight
Shred cabbage, using the best method available to you: Cuisinart, hand held shredder, sharp knife etc.
 |
| Measuring salt for 20 lbs cabbage |
 |
| Stomping cabbage inside turkey bag |
 |
| Twist bag closed, clip loosely if needed |
To finish, carefully close the turkey/cooking bag liner by slowly removing most, if not all excess air - Important step! - from the bag, twisting the liner closed (but not tied!). If the liner will stay twisted closed without a clip, this would be best, but the bag may require anchoring. Place a plate/weight slightly smaller than the opening of the crock to act as a weight on top of your sauerkraut and (optional, but helpful) place a small weight (not more than 5 lbs) on top. Allow to ferment 6-8 weeks. If you do not eat it all right away (very possible!) then refrigerate in ziplock/plastic freezer bags.
 |
| Ready to refrigerate |
We removed the juice and stored it separately; we found it to be just a bit too salty for our taste, although cooked with an unsalted pork roast, the flavor was just right. Next time, we may lower our salt per pound to 3 Tbs.
______________________________________________________________________
Japanese Udon
So here's a recipe I modified from one of my favorite recipe sites, shesimmers.com. Shesimmers is a great site for Thai and other Asian recipes that are just great good food, and yes, I double emphasized that! The Shesimmers site has been nominated for the 2011 Saveur Best Food Blog Awards, and I have experimented with a few of these recipes that I could never find a reliable recipe for. I came across a recipe there for Udon, a type of extremely delicious Japanese noodles. And with some lovers of Japanese culture in the household I decided I had to try them out.
 |
| Not very authentic at all, but we've never had any left over! |
Japanese Udon
2 3/4 cup flour
1/4 cup tapioca starch (I just blend small tapioca pearls in my blender until powder, but then we have a Blendtec blender that pulverizes just about anything you can imagine...Can you tell I love that thing?!)
1 Tbs salt dissolved in 3/4 cup warm (110-115F) water
Although it would be best to add half of the water and mix then add more water as needed, I've found that the dough for these noodles tends to be extremely dry. I just add the full 3/4 cup of water and mix the dough from there.
This dough will be extremely dry and will NOT mix up into a solid lump of dough. In fact, it will be very flaky, and no amount of hand kneading will mix it. This is where tap dance skills come in handy.
Place your dough into a gallon ziplock bag, removing all the air from the bag. Here comes the fun part. Drop it on the floor and in your stocking feet begin to knead the dough. Yes, you do knead the dough with your feet! Knead the dough until a more solid dough forms, this does not take long; about a minute. Remove the dough and fold it into thirds and repeat the foot kneading process. You will need to repeat this process 2-3 times. Finally let your dough rest in the bag in a warm area not less than 1 and a half hours, preferably up to 3-4 hours, although the dough can be used sooner.
When you are ready to use your dough, portion it out into thirds or quarters (whatever is easiest for you to handle) and roll your dough about 1/4 inch thick, and cut noodles to about 1/4 inch wide. These are chunky noodles and very hearty.
To cook your Udon noodles, have a large pot of boiling water ready at a full boil. Make sure your pot is as full as it can be. Too little water in the pot will make your noodles too chewy and doughy. When the noodles are done they will float to the surface of the pot, allow them to boil about 2-3 minutes longer and they are ready to serve. Most udon is served with vegetables using Japanese shiro miso (white miso paste). Since at the time I didn't have access to an Asian grocery, I had no miso. (I do now!! Yum!) So, I made up my own broth using beef bouillon and cooking sherry that works just fine and has been a huge hit every time it's served.
 |
| This version is topped with shredded carrot and fresh home-grown fennel. |
My Udon Broth
-While noodles are cooking I generally have about 4-5 cups water in a second saucepan ready to boil as well.
-I add beef bouillon to my water, about 1 Tbs (1-2 cubes, if you prefer)
-Add 1-2 Tbs cooking sherry for flavoring
-2-3 thinly sliced mushrooms, I've been using just button mushrooms but shitake would be preferable. I need to raid my sister's shitake log, don't tell her! If you use shitake mushrooms though, please make sure to thoroughly cook them. Some people (about 1 in 50) may have a reaction to undercooked shitake mushrooms that doctors here in the west are not nearly as familiar with as their counterparts in Asia.
- 3-4 leaves of cabbage thinly sliced in strips
Combine the mushrooms and cabbage with the soup stock.
For further flavor I like to place fresh shredded carrot on top of the finished soup combined with either chopped green onions or chopped fennel. It may not be authentic, but it is delicious!